Catch me every Friday at 11am EST on YouTube!
| |||
Poppy Cork Wallet SVG
$6.00
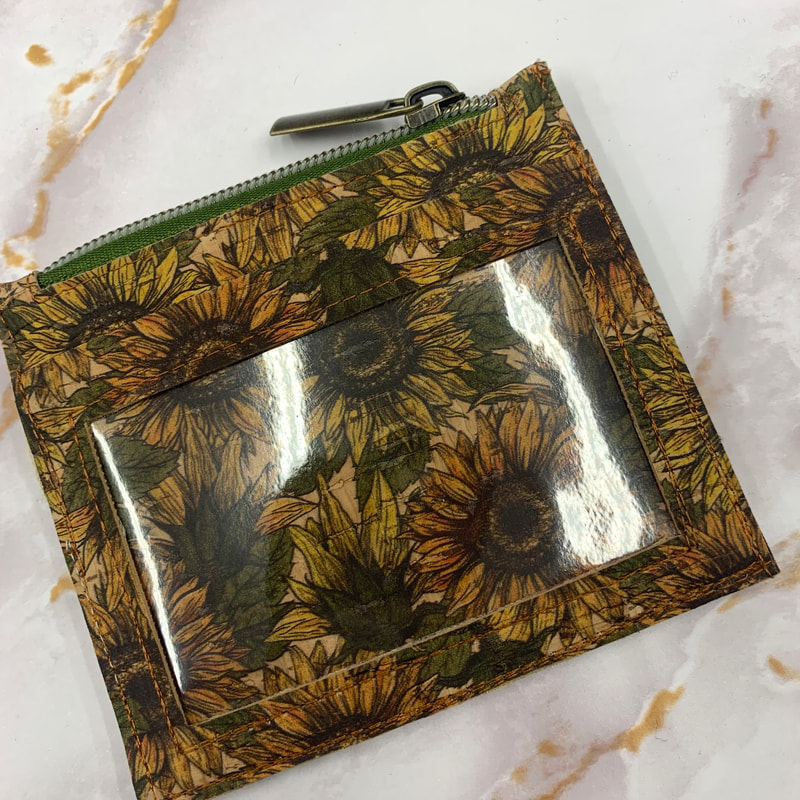
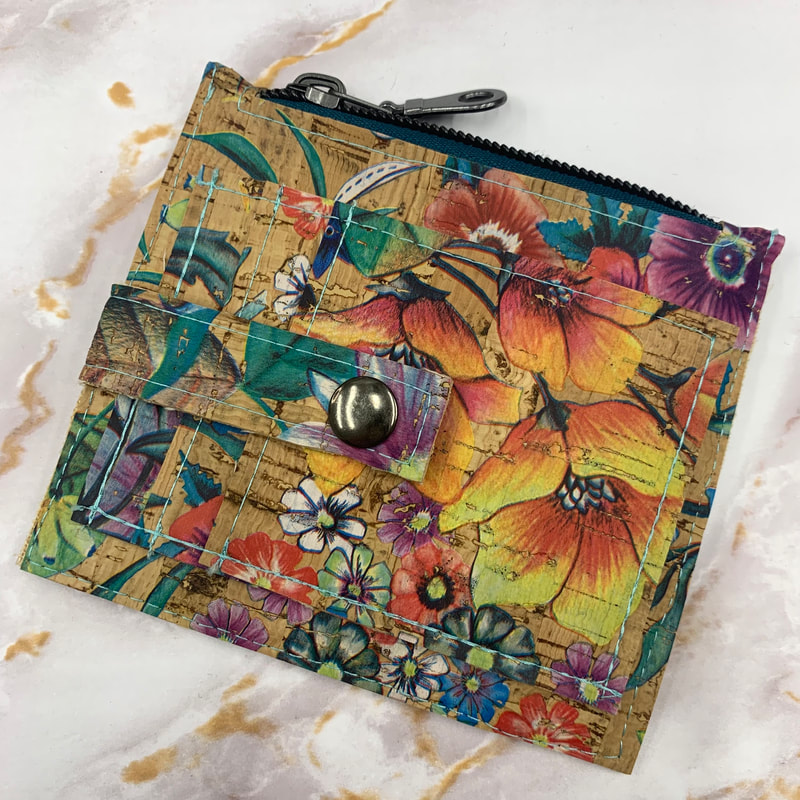
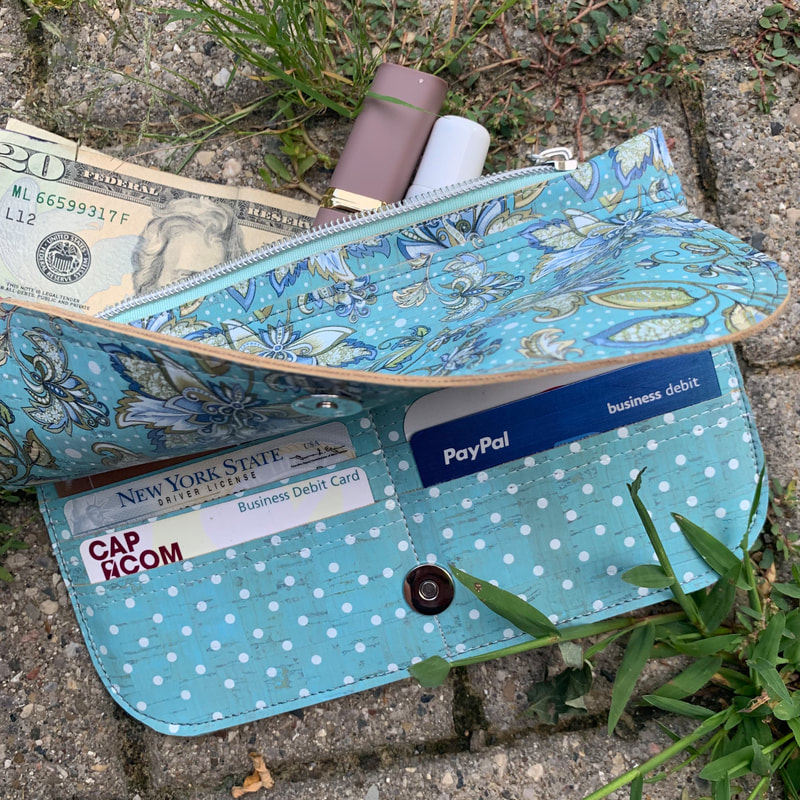
The FREE Poppy Cork Wallet tutorial can be found on my YouTube Channel and the 1 page PDF download with cutting instructions can be found on the Tutorials page. This SVG file is not required for this project but if you have a cutting machine you may enjoy this added tool for even quicker cutting! If you do not have a cutting machine (Cricut, Silhouette, ScanNCut, etc..) you do not need to purchase this file. Just use the FREE PDF provided and hand cut your pieces. ALL SALES FINAL FREE PDF:
| |||
|
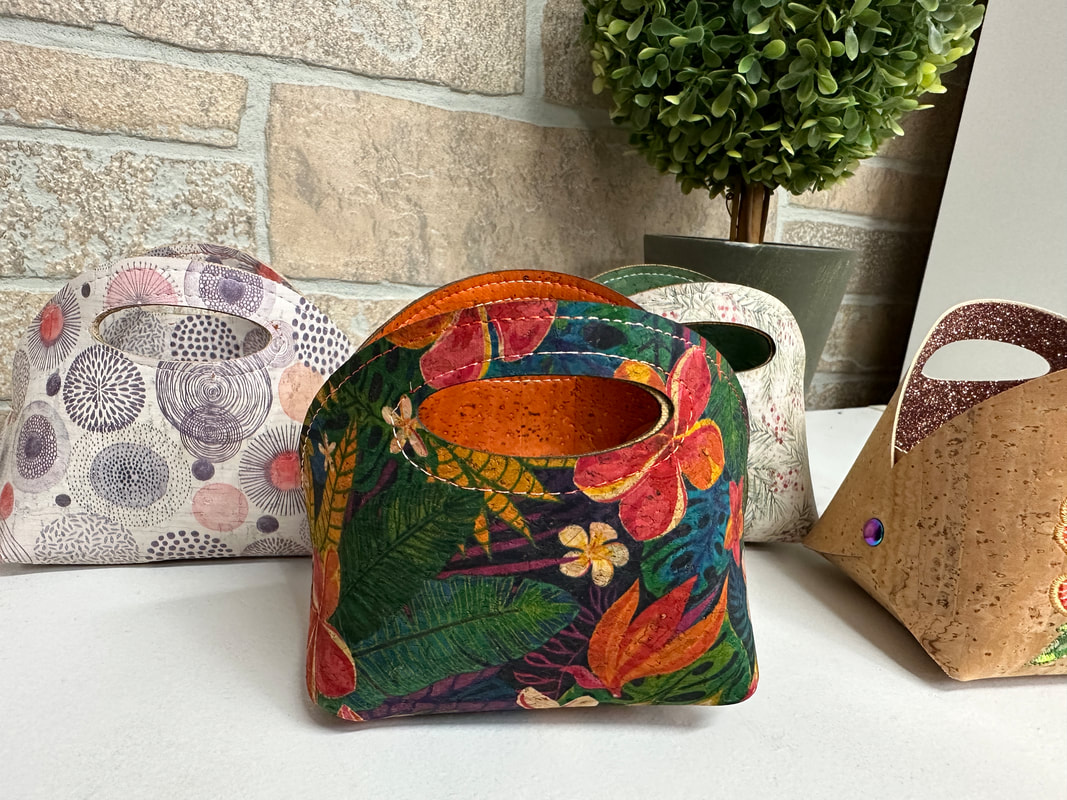
Bitty Baskets are here! Download the file below and watch the FREE! video on my Channel!
Download the free PDF here:
Bitty Basket SVG
$3.00
The Bitty Basket is a super quick and easy project perfect for cork, vinyl and any other non-fraying materials. They come together so quickly with minimal sewing and supplies! Use rivets, Chicago screws or a few stitches to hold the sides together. This SVG file is not required for this project but if you have a cutting machine you may enjoy this added tool for even quicker cutting! If you do not have a cutting machine (Cricut, Silhouette, ScanNCut, etc..) you do not need to purchase this file. Just use the FREE PDF provided and hand cut your pieces. | |||
| |||
Find the FREE tutorial for the Sydney ID Wallet on the YouTube Channel!
https://www.youtube.com/sewmanycreations
| sydney_id_wallet.pdf |
| |||
Market Tote
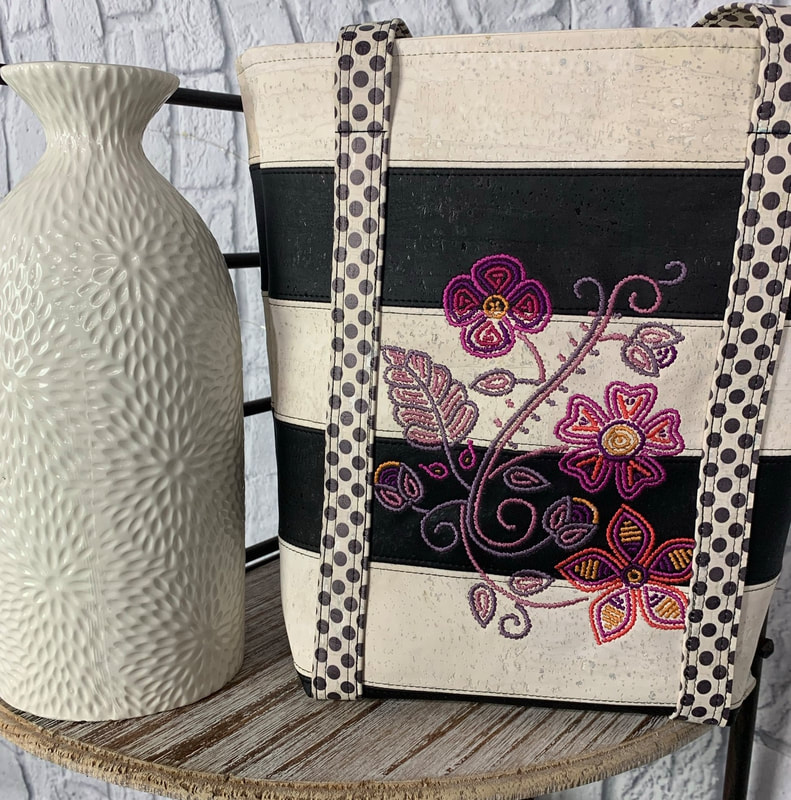
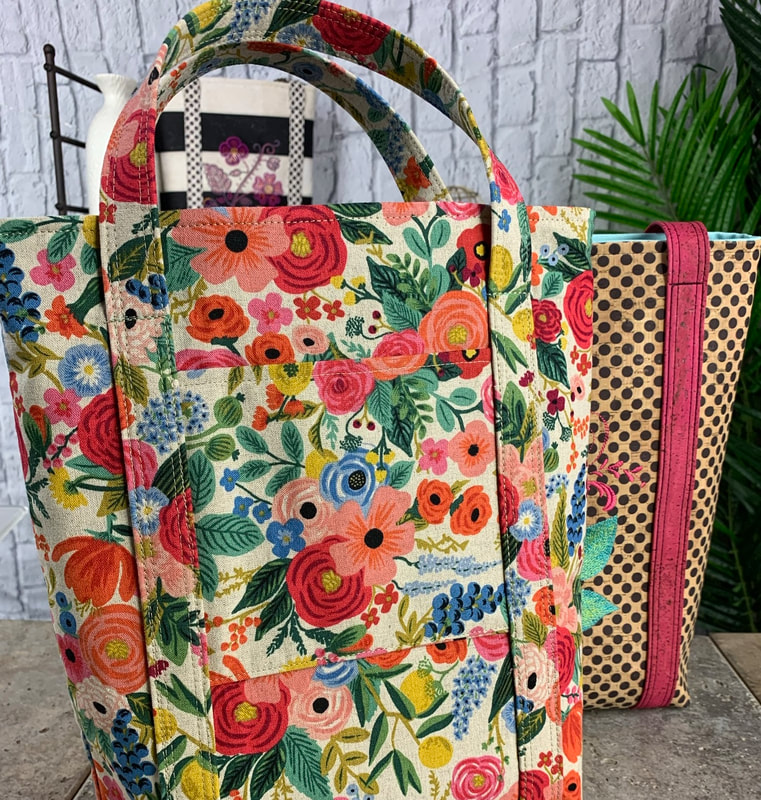
You can watch the 4 part videos series on my YouTube Channel starting Monday 6/28/21 for this FREE tote! This was a collaboration with Janome and includes tips for cork embroidery! You can download the FREE pattern above. For a printed copy there is a $3 printing charge including shipping. You can purchase a PAPER copy below: | |||
|
Janome Live 5/19/21
|
| ||
|
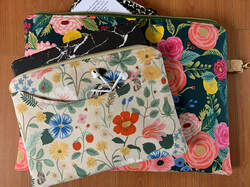
You can find the video for this FREE project on my YouTube Channel, linked above!
Download the tips sheet & templates for the Quick and Easy Tablet Sleeve here:
| ||
|
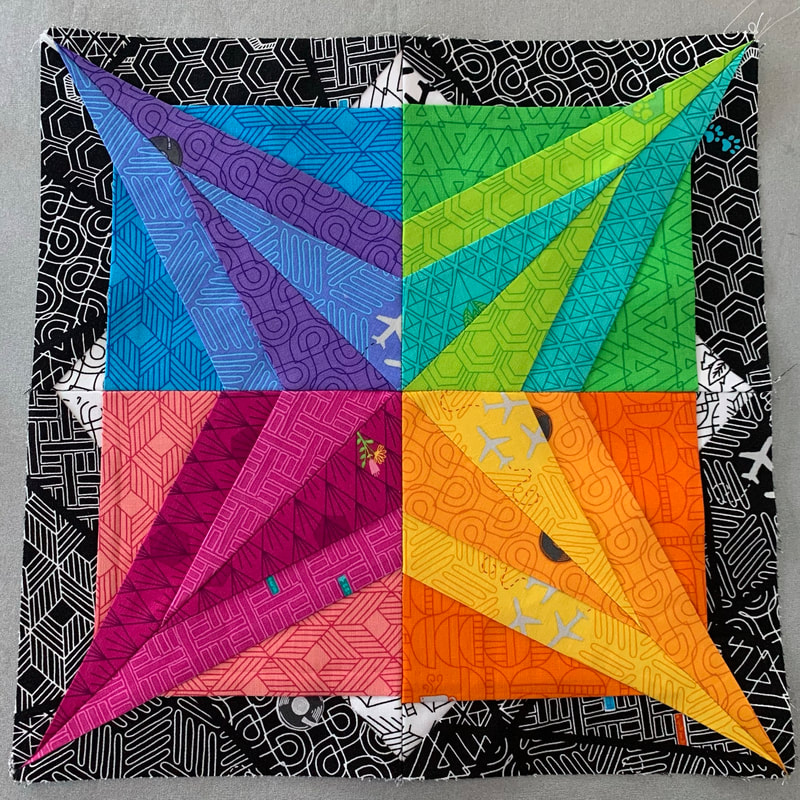
Enjoy this FREE paper pieced block to make your own special bag or quilt. Instructions not included - This is just the basic Foundation PP unit!
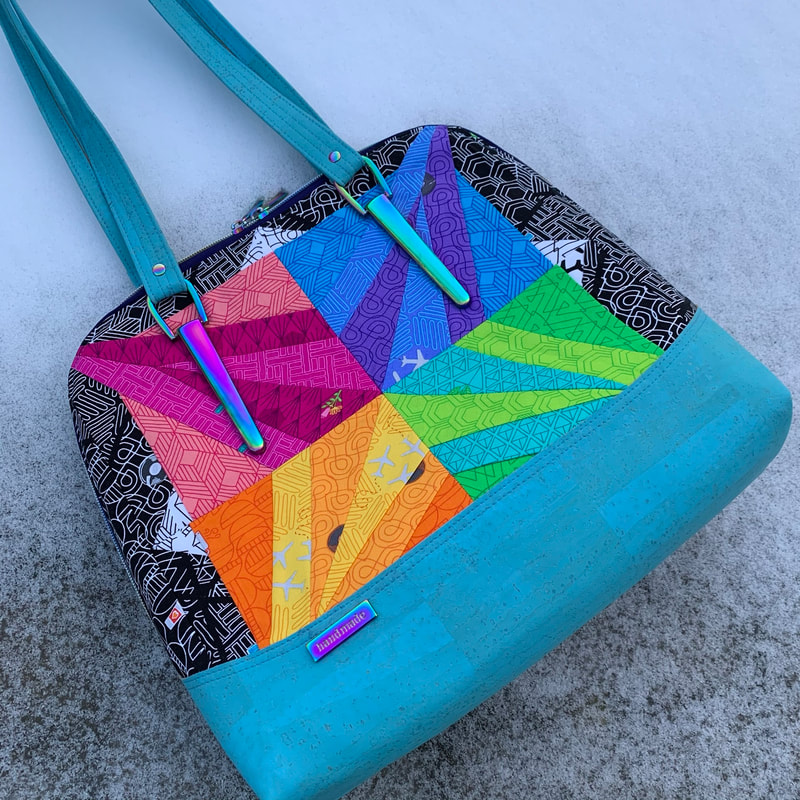
Fabrics Used: Favorite Things by Shayla Wolf for Windham Fabrics Bag shown: Liana Bowler Bag with Aqua cork accents & rainbow hardware
| ||||
|
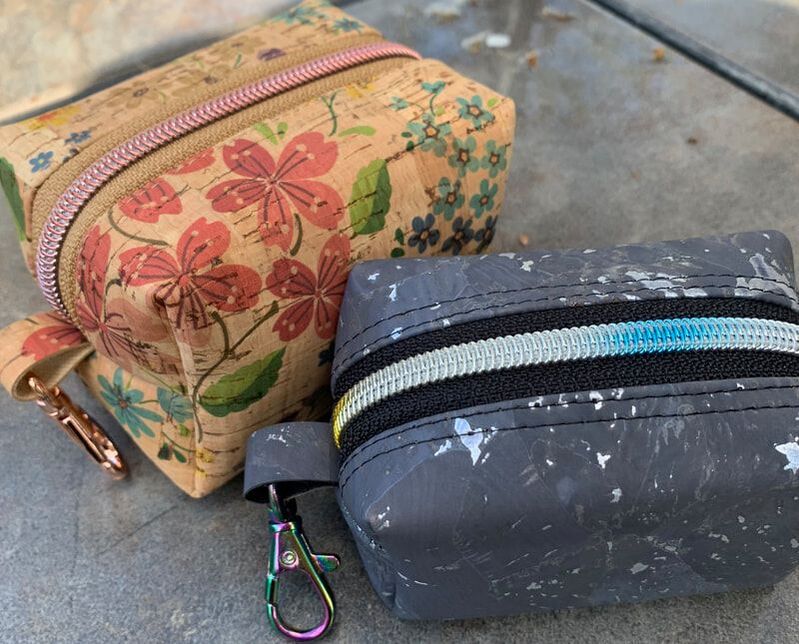
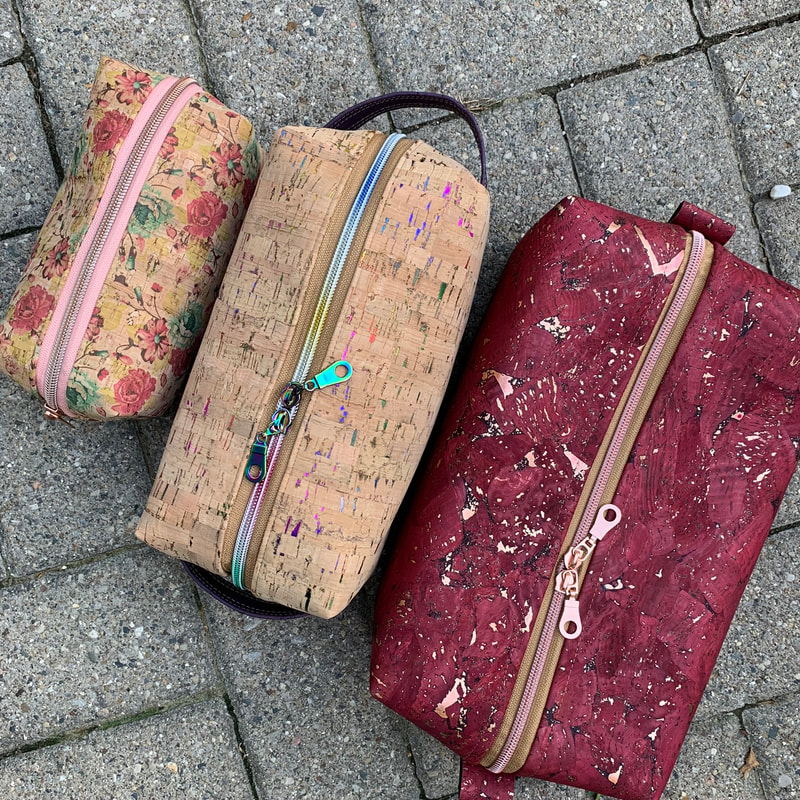
Watch the video above for the FREE Cork Mini Boxy Pouch tutorial!
Check out to Kits & Inspiration page for available kits including a fun mystery/surprise kit! Each can be made from a 9" x 12" piece of cork or less. Three 9" x 12" pieces of cork & one yard of zipper will make all three sizes! Check out the YouTube Channel for the video to make these fully lined boxy pouches. Comes in 3 sizes. Supply & cutting list can be found below! Each boxy pouch is FQ or scrap friendly! | ||||
The Straight Stitch - My adventure in blogging
To keep up with me and my latest projects go to:
http://thestraightstitch.wordpress.com/
The blog has tips, tricks and additional pictures to make your sewing even easier. Check out the Prima Diva sew along, Getaway bag zipper pocket tutorial and the easy installation tips for adding a twist lock to your Stella Sling bag! Here are some direct links to popular posts:
Good Vibes Only Tour & Central Park Sling re-release tips:
https://thestraightstitch.wordpress.com/2019/06/09/good-vibes-only-tour-central-park-sling/
Strap Ends & Strap Keepers Tutorial:
You Tube Video
https://thestraightstitch.wordpress.com/2020/03/22/tutorial-using-strap-ends-strap-keepers/
Zippers by the Yard Tutorial:
https://thestraightstitch.wordpress.com/2018/08/22/how-to-use-zippers-by-the-yard/
Also check out the video posted on my Facebook page!
Prima Diva Sew Along:
https://thestraightstitch.wordpress.com/2015/10/07/prima-diva-sew-along-day-1-intro/
https://thestraightstitch.wordpress.com/2015/10/19/prima-diva-sew-along-day-2-zippers/
https://thestraightstitch.wordpress.com/2015/11/17/prima-diva-sew-along-day-3-card-pockets/
https://thestraightstitch.wordpress.com/2015/12/18/prima-diva-sew-along-day-4/
Turn Style Vs. Drop Lining
https://www.youtube.com/watch?v=qa4SFRL8oWM&t=23s
Twist Lock Installation (Use for Flip Lock too):
YouTube Video
https://thestraightstitch.wordpress.com/2015/08/21/stella-sling-bag-how-to-add-a-twist-lock-closure/
Jewel Strap Anchor Installation:
YouTube Video
https://thestraightstitch.wordpress.com/2018/06/04/jewel-strap-anchor-tutorial/
Icicle Strap Anchor Installation:
YouTube Video
https://thestraightstitch.wordpress.com/2018/02/12/foundation-fabric-the-harper-handbag-bonus-hardware-tutorial-too/
Zipper Pocket Tutorial:
YouTube Video (includes Recessed Zipper Top Closure)
https://thestraightstitch.wordpress.com/2014/04/17/the-getaway-xl-tote-featuring-timeless-treasures-field-study/
Check out these great tutorials by my friend Stephanie too! Please note that these videos are not made by me, nor do I oversee the tutorial or control pricing (if any) for these videos. The links are here as a courtesy for my customers.
Stephanie of Quilt Addicts Anonymous offers great FREE YouTube videos for those of you who already own these patterns:
Diva Wallet www.youtube.com/watch?v=fO-0YTWgta4
Abby Sling Bag www.youtube.com/watch?v=N8YiZpcLh6g
Tourist Tote Bag: www.youtube.com/watch?v=qO-ZsBpJxQM
Brook Wristlet: https://www.youtube.com/watch?v=aSfkkxxLhhc
Leading Lady Wristlet: https://www.youtube.com/watch?v=L1TgJHVCFro
To make the outside of the Lucy Crossbody in all cork you will need (2) 18x27 pieces of cork - One for the cork pieces and one for the center where the fabric is shown on pattern cover.
Cut all pieces from "cork" as indicated.
You will cut pieces marked as "Outside Main fabric" from cork (without interfacing). Those pieces are A, B, C & one D (for step 6, page 4). Cut the other D (for step 6, page 5) from fabric as indicated and interface. Cut E from fabric as well.
All Cork Emilie Mini Messenger outside Adjustments:
To make the outside of the Emilie Mini Messenger you will need (1) 18x27 (referred to as solid) and (1) 9x12 piece (referred to as print) of cork.
From the solid cut (2) 2" x 27" and (1) 2" x 4" strips for the E pieces. Sew 27" pieces together to form long strip, fold in half and topstitch as directed in pattern. Topstitch small piece as well. No interfacing.
Cut the (2) A pieces from solid as well, do not interface or use fleece.
For piece B, cut 11" x 9" strip from print for front only. Cut a 1.5" x 11" strip from solid and sew to top edge of print before trimming with template. Do not interface or use fleece.
Pieces C & D and back of B will be cut from fabric as directed in pattern.
Notes are for personal use only and include my research & opinions on precut fabric. Please do not use without permission for lectures, talks and printed materials.
| |||

